Budget Adventure Riding Gear: How to ADV on the Cheap
Good motorcycle gear is expensive, but the asking price on adventure riding gear can be downright shocking. Today’s flagship ADV jackets run well over $1,000, and by the time you add in pants, boots, gloves, and a helmet, there’s a decent chance your outfit could cost more than the motorcycle you’re riding.
We’re here to tell you that doesn’t have to be the case. We’ve spoken to hundreds of riders over the years who thought they couldn’t afford to take a motorcycle journey with us for the simple fact that “proper” adventure riding gear was just too expensive.
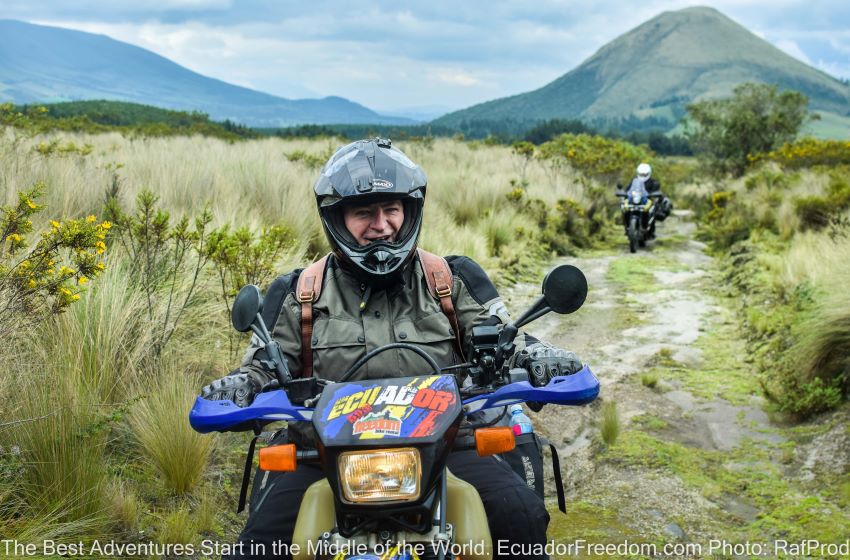
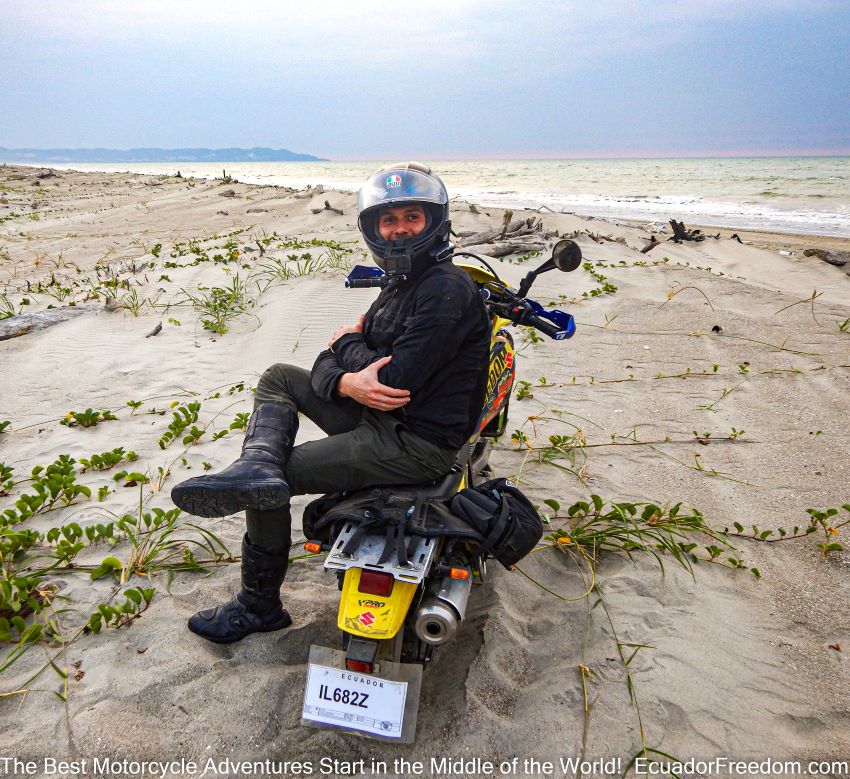
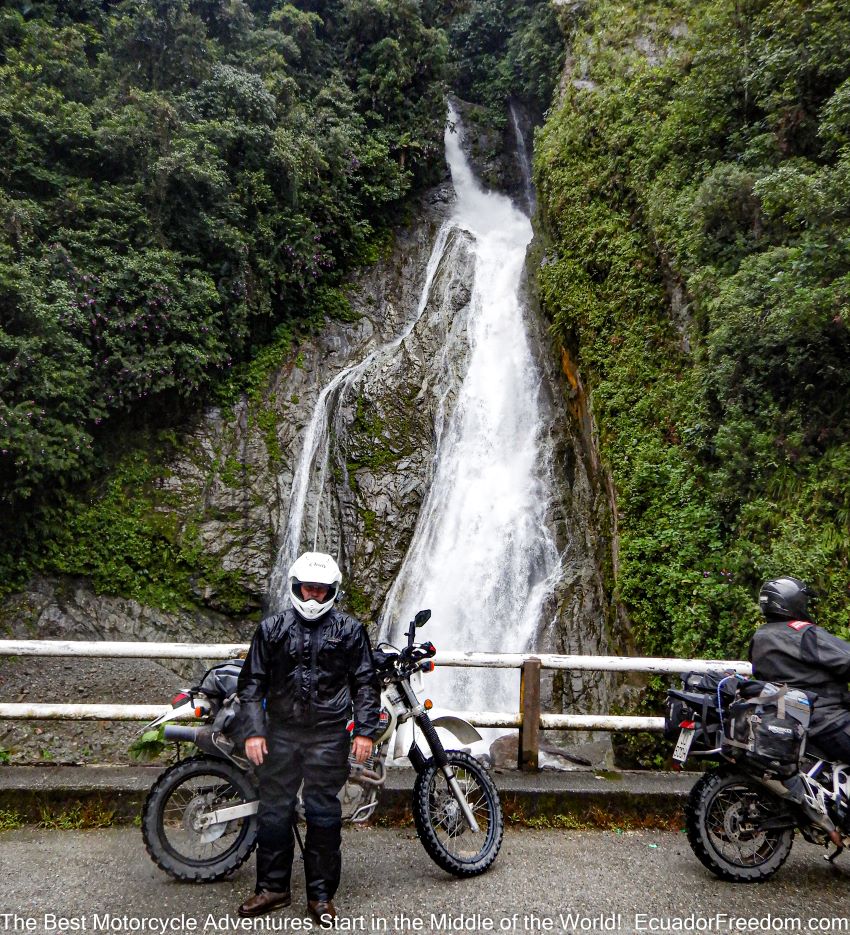
Yes, you can get out and ride ADV with the best of them in standard black touring gear.
Don’t get us wrong: The “good stuff” is nice to have and can make the riding experience that much better, but you don’t need a $2,000 riding suit to come explore Ecuador any more than you need a $1,000 helmet or a $30,000 BMW GS. People have been doing this in second-hand riding gear on dirt cheap dual sports for decades, and there’s a much more cost-effective way to get out and enjoy the sport.
Below we’ll dive into a few proven strategies for getting a budget adventure riding gear setup together that works. We’ll cover what to look for, what to avoid, and where you should skimp or spend to get the most bang for your buck.
How To Find Budget Adventure Riding Gear for Ecuador (Or Anywhere Else)
It’s important to start out with a simple fact: So-called “adventure riding gear” is very much a recent invention. The “adventure motorcycle” boom as we know it didn’t even begin until the late 2000s. Yes, people had been touring the globe on capable motorcycles for decades, but back then “adventure gear” and “touring gear” were one and the same, and the highly specialized kits we see today weren’t even on anyone’s radar.
That didn’t stop riders from traveling the world then, and it shouldn’t now. While riding gear has undoubtedly improved over the last 20 years, our needs as riders haven’t changed at all: You simply need (a) protection from the elements, and (b) protection from injury.
Mixing motocross and dual sport gear into your adventure kit helps save money and works great in hot weather.
Injury protection is something we’re all familiar with, but here in Ecuador, weather protection can be a little trickier. It’s not uncommon for riders to start their day on a snowy mountaintop and find themselves in a tropical rainforest just a few hours later.
Sounds complicated, but it doesn’t have to be. Here’s how to come prepared on a budget.
Don’t Overthink Your Adventure Riding Pants and Jacket
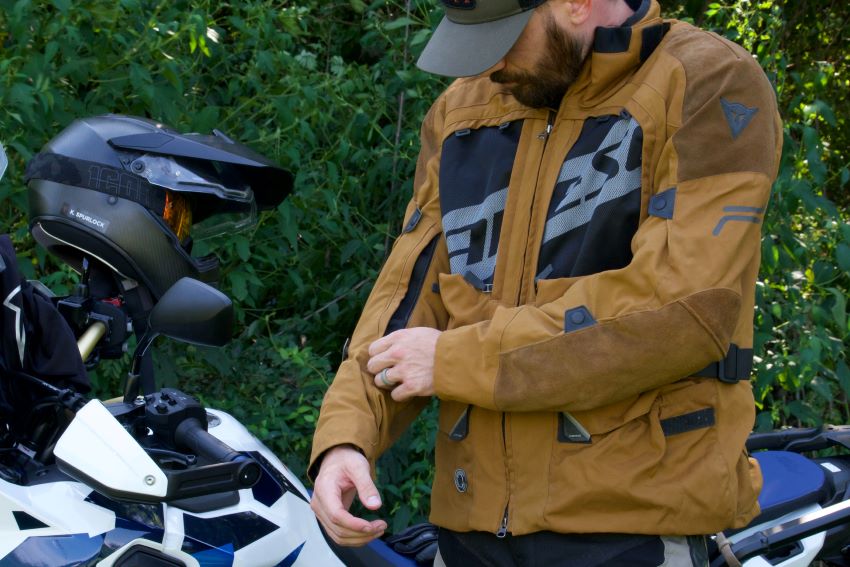
If you want one jacket that works well enough in any weather, look for textile-heavy jackets with plenty of adjustable ventilation.
We recommend starting your adventure riding kit with pants and a jacket, but if you already own any riding gear whatsoever, you may not actually need to buy either. When it comes to these two items, your priorities should be as follows:
- 1) Crash protection: You need materials that can survive a slide on pavement, as well as some degree of impact protection. Abrasion resistance is more important as armor can always be added later, either directly into the jacket and pants or via standalone armored layers.
- 2) Ventilation: Versatility is a hallmark of good adventure gear. If you want one jacket/pants combo that can take you anywhere, you want solid fabric with zippered vents that can be opened and closed. Mesh jackets work great here in Ecuador on our coastal rides and tours through the notoriously hot and sticky Amazon rainforest, but if you’re expecting a full mix of the elements, solid fabric with optional ventilation is ideal.
- 3) Weatherproofing: The most expensive adventure riding gear typically employs a laminated waterproof/breathable membrane like GoreTex while more budget-friendly options use a removable waterproof liner. If you’re really looking to save money you don’t actually need either, as external raingear (more on that below) serves the same purpose for less money.
DO:
- Look for established brands, ideally with CE-rated safety certification for slide protection
- Look for general-purpose riding/touring gear that matches the weather you’ll be riding in (mesh is best for warmer weather, but solid fabric with zippered vents is more versatile).
- Shop used gear online (Facebook Marketplace, Craigslist, etc.) before shopping inexpensive new gear.
- Consider used “touring” gear as it’s often dirt cheap and typically covers both protection and weatherproofing needs
DON’T:
- Focus on “adventure riding gear” specifically
- Limit yourself to popular ADV brands like Klim, Revit, Mosko Moto, or Rukka
- Insist on waterproof or thermal liners, we’ll add those later if need be
- Buy a mesh-heavy jacket if you’ll also be riding in the cold
- Why No Weatherproofing?
If buying a weatherproof jacket is within your budget you should absolutely do it, but you don’t actually need it as part of your adventure riding gear. As we stated above, slide protection and adjustable ventilation are more important for one specific reason: Standalone rain gear is both cheap and effective.
We’re talking about those bargain-buy one and two-piece suits from brands like Joe Rocket, Nelson-Rigg, and Oxford, all of which can be had for well under $100. Truth be told you could argue that these options are actually more effective than the most expensive GoreTex shells because they’re 100% waterproof rather than “waterproof-breathable.”
Standalone rain gear isn’t the flashiest looking thing, but the PVC material it's made is a proven performer.
Why is that? Simply put, cheap rain suits rely on a PVC layer rather than high-tech breathable membranes. PVC is the same material used by shoremen and deep sea fishermen (whose lives often depend on them staying dry in the worst possible conditions), so there’s no debate as to whether or not it works.
What we’re talking about here is trading a small amount of comfort for a ton of value. If you’ve ever worn one of the waterproof liners that most budget 3-in-1 motorcycle jackets use, you’ll know they aren’t exactly famous for their breathability, but they still get the job done. You can take our word for it here: There is minimal real-world difference between using standalone rain gear and one of these liners, if any at all.
You could also argue that because standalone rain gear goes on the outside of your pants and jacket rather than zipping in as a lining, it’s easier to put on and take off as conditions change. Once you zip a weatherproofing lining in, chances are it’s in for the day and your ventilation will suffer as a result.
Do You Need Adventure Riding Boots?
The short answer here is no, but we’ll throw in a few stipulations for good measure.
The ideal adventure riding boot depends on the kind of riding you plan to do. If you’re geared more toward an off-road heavy trip, you want your boots to be as protective as possible, with motocross boots being the most protective of the bunch. If you’re mainly looking to tackle paved roads with the occasional gravel detour, just about any pair of tall riding boots will do the trick.
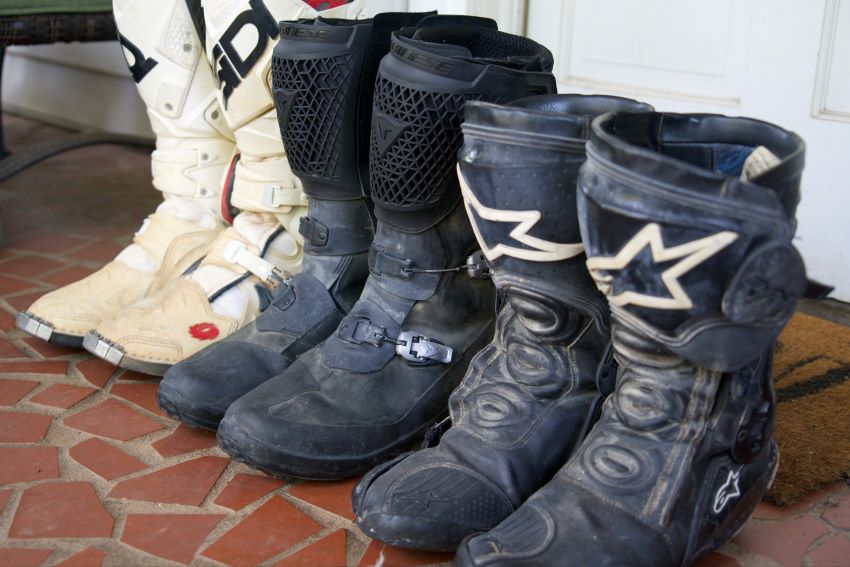
Motocross, adventure, and road boots: We’ve used all three of these for adventure touring, and we bought each of them used for under $150 each.
With that being said, we highly recommend some form of weatherproofing on any boot you choose. Wet feet suck, and wet feet in cold weather could potentially cost you a toe or two in the high-elevation Andes mountain passes we often traverse here in Ecuador.
One popular approach is to pair a standard motocross boot with a tall waterproof sock from brands like Klim or SealSkinz. This is particularly budget-friendly if you already own a pair of motocross boots.
Of course if big clunky MX boots aren’t your bag, your standard-fare “tall black touring boots” will get the job done. There are a handful of workable options out there for around the $100 mark from brands like Forma, Oxford, and BILT, but again, if you’re willing to go the used route, there are some downright steals out there when it comes to footwear.
A Word on Glove Selection…
We recommend packing two pairs of gloves for proper ADV duty: One short cuff, lightweight street glove, and one gauntlet-style waterproof glove. Most riders could technically get through an entire trip with just the gauntlets, but because most of us already own some sort of generic mesh summerweight glove, you might as well pack them.
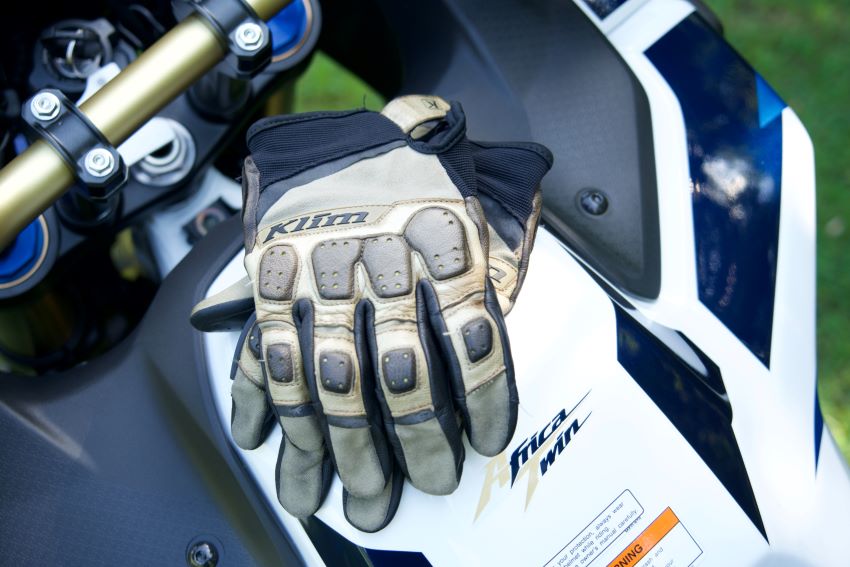
Breathable, short cuff gloves are worth their weight in gold offroad. They’re also among the cheapest gloves on the market, and won’t take up much room in your pack.
Your light gloves will come in handy both on warm, sunny days and for offroad duty. On dirt-intensive tours like our 10-day High Andes, Deep Amazon adventure, a single light pair of mesh gloves is often all our riders use for the entire tour. Gloves like this are also a dime a dozen brand new, so they won’t make a big dent in your budget if you don’t already own a pair.
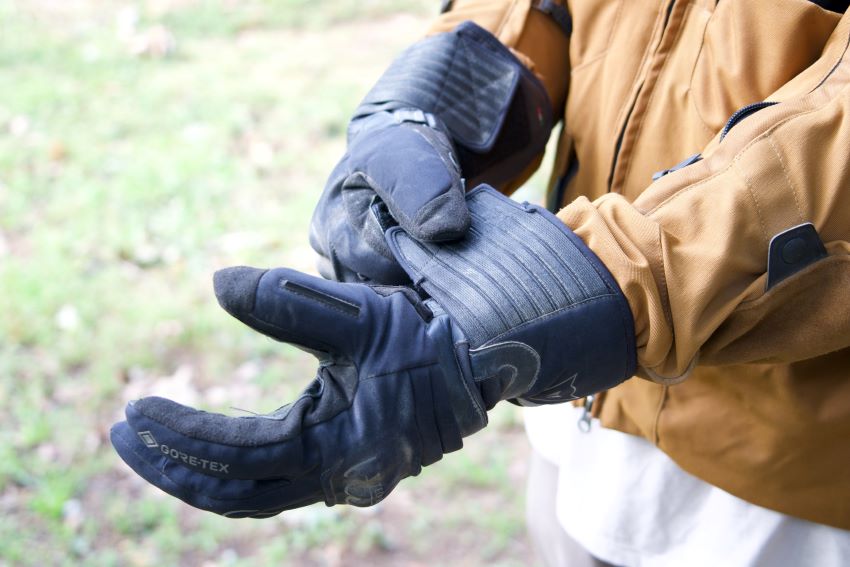
The added length of a gauntlet-style glove helps to seal water out from the openings in your sleeves. These also happen to be insulated for cold weather.
As for the gauntlets, we recommend an insulated glove if you’ll be riding in cold conditions, and a non-insulated glove if not. You can also add an inexpensive pair of glove liners to your kit to boost your gauntlet’s warmth on colder days.
Choosing A Helmet for Adventure Riding
If you ask someone to describe the ideal adventure riding helmet, chances are they’ll outline something like an Arai XD4, Klim Krios, or Bell MX-9 ADV: It’s a dirtbike helmet (large viewport, extended chin bar, peak visor) with a face shield added on.
We’re partial to helmets like these, but again, you don’t actually need one, and many riders prefer tackling adventure duty in a standard or modular helmet for good reason. Put simply, any helmet with a peak visor catches more wind out on the highway, and while many of these visors are “easily removable” by design, 99.9% of riders just leave them on for simplicity’s sake anyway.
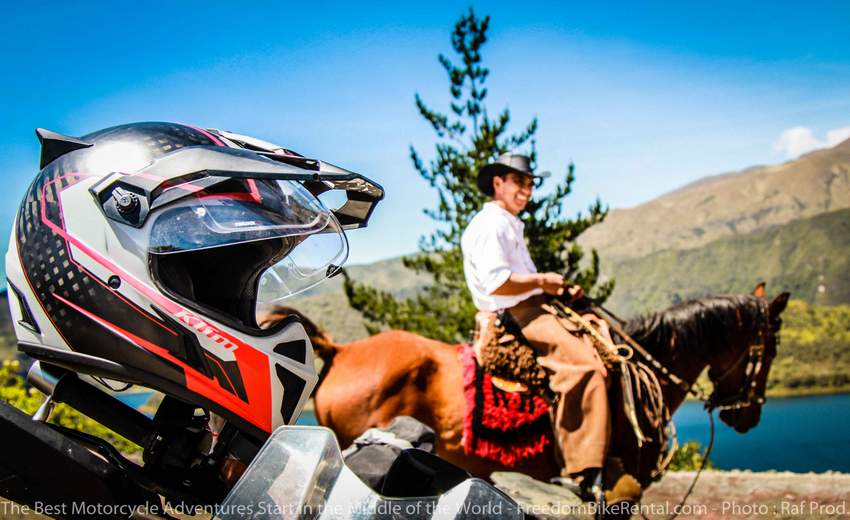
Purpose-built adventure helmets like this are nice to have offroad, but they can be a little awkward on the highway.
The main advantage of an ADV-specific helmet is that it allows you to choose between goggles OR a face shield whenever you want rather than settling for one or the other. The peak visor itself really doesn’t serve a huge purpose for 99% of ADV riding outside of blocking some extra glare from the sun, so many would argue that it’s mainly there for looks (they do look sweet), and a standard street lid will do you just fine.
That’s a long-winded way of saying that if you already own a helmet you like, you don’t need to buy another one. We’ve had riders on our tours rock everything from full-on motocross helmets and goggles to streamlined sportbike helmets without issue, so we wouldn’t waste any stress and/or money on this particular item as long as you already own a good quality helmet.
Layers Are Important
Outside of basic safety gear, layers are arguably the most impactful element in any good adventure riding kit. The ability to add and remove layers as weather conditions change has a greater impact on rider comfort than anything else, and that’s good news because good layers are extremely affordable.
A good layering system is made up of three core parts. Below we’ll break down each layer and what to look for when putting your own budget adventure riding gear setup together.
Base Layers
Your base layer is your “next to skin” layer, which is responsible for wicking and evaporating sweat from your body as well as regulating your body temperature in both hot and cold conditions.
Base layers are made from synthetic fibers like polyester, natural animal fibers like merino wool, or a combination of the two. Cotton is a serious no-no in anything but the hottest conditions because it retains moisture and inhibits your body’s ability to generate and retain heat.
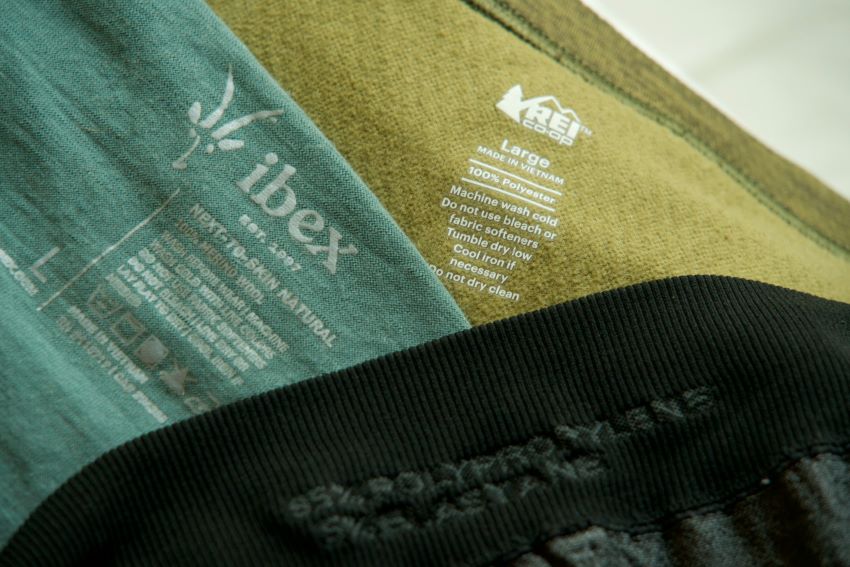
We recommend focusing on the fabric, rather than the brand. Here are a few good examples at different price points made from polyester, merino wool, and polypropylene. They all work just fine.
If you’re working on a budget, you’ll want to stick with synthetic fabrics here. The good news is that despite a deluge of marketing claims and “proprietary technologies,” polyester is polyester, and the actual performance differences between the most affordable and most expensive options are subtle at best.
To that end, we recommend looking for a lightweight layer for warmer conditions and either middleweight or heavyweight layers for cool to cold days in the saddle. Here in Ecuador, where it’s not uncommon to get a full “4 season experience” in a 12 hour period, a middleweight base layer is tough to beat for all-around versatility.
Again, some brands and fabric blends may be slightly softer, stretchier, and tougher than others, but literally any brand will do as long as they fit and they’re made of the right fabric. A set of full-length top-to-bottom base layers can easily be had for around $30, so just read the reviews on quality and fit before you pull the trigger and you’ll be just fine.
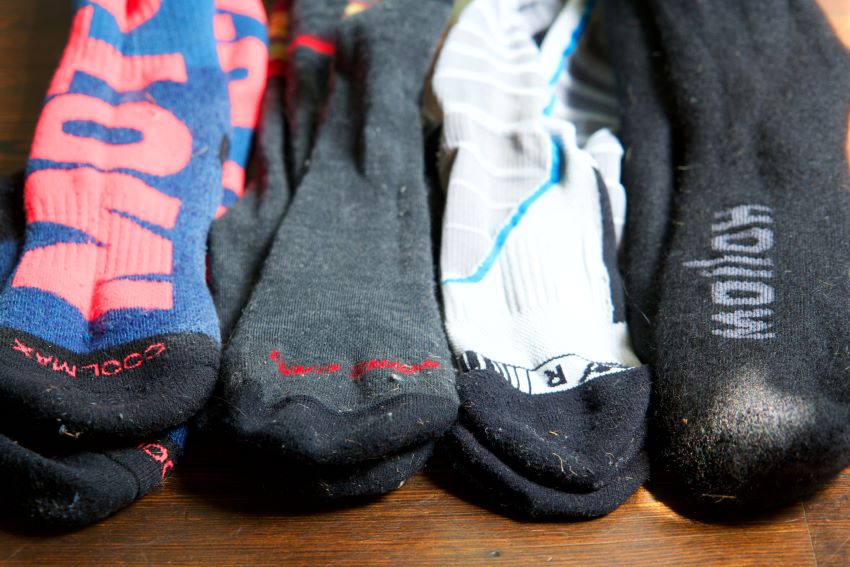
Good adventure socks come in many forms. From left to right, these are made from acrylic (Fox Racing), merino wool (Darn Tough), Dryarn (Dainese), and alpaca (Hollow).
The one exception we’d make here is the all-important base layer for your feet, your riding socks. The same rules apply here in terms of materials (natural & synthetic fibers only), however splurging on a high-quality pair of socks is always a smart investment.
We’ve had good experiences with merino, alpaca, and synthetic blends in the past, but the most impressive pair of socks we’ve owned to date is actually made from possum fur. They’re made by a brand called Pearly’s Possom Socks, and we have pairs of their boot-height socks that are still fluffy and soft after 10 years of use. Pearly’s are definitely an investment, but if you’re interested in trying them out for yourself make sure to drop us a line as our tour customers can get a special discount from Pearly’s.
Mid Layers (Insulating Layers)
Your mid layers are responsible for keeping you warm, and again we recommend sticking to synthetic fibers and fills. Synthetic materials are your best bet here because they’re affordable, longer lasting, and continue holding heat even if you get them completely soaked.
Chances are you’ve already got a jacket or two that will work here. We’re talking about any old synthetic puffy jacket that fits over your base layers (and any standalone armor you may wear like chest and back protectors) and under your riding jacket. Puffy jackets are the best option here because they can be easily stuffed into your luggage when not in use, but performance fleece will do the trick as well assuming you’ve got room for it in your bags.
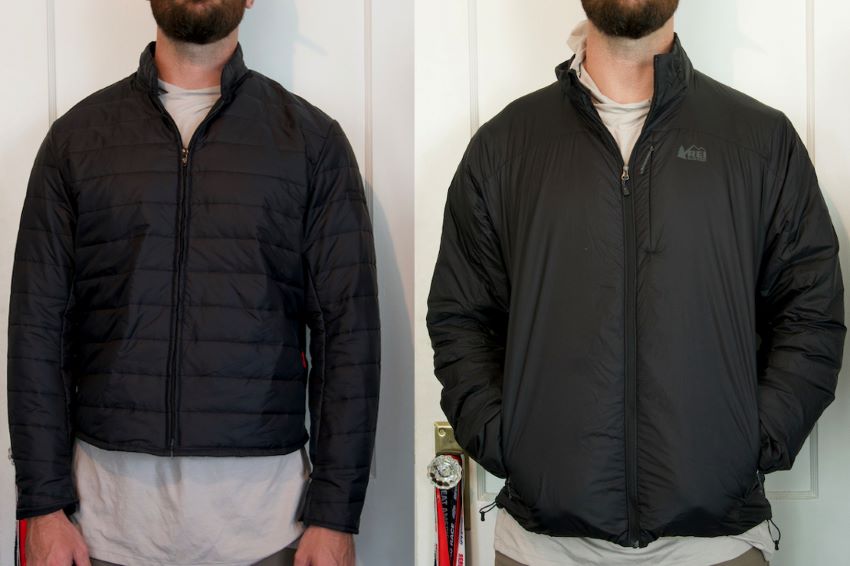
A zip-in thermal liner from a three-layer touring jacket (left) and a generic synthetic puffy jacket (right). Both of these pieces serve the same purpose, but jacket liners usually look ridiculous on their own around town and often don’t include usable pockets either
.
This part gets a little trickier for your bottom half as there aren’t a lot of companies that sell standalone mid-layers for your legs. For this reason it’s a good idea to shop for riding pants that come with a thermal liner if possible, however you can always switch to either a heavyweight base layer or just throw a second base layer or pair of pants on under your riding pants in a pinch.
Outer Layers (Weatherproofing)
Last but not least, we come to your outer layer. Your outer layer’s job is to be both waterproof and windproof, keeping you warm and dry in wet and/or cold conditions.
If your riding jacket features either a laminated waterproof shell or a removable waterproof liner, you’re probably good to go here. We recommend doing a “trial run” in cold weather if possible, however, to ensure your jacket blocks enough wind to keep you comfortable at speed.
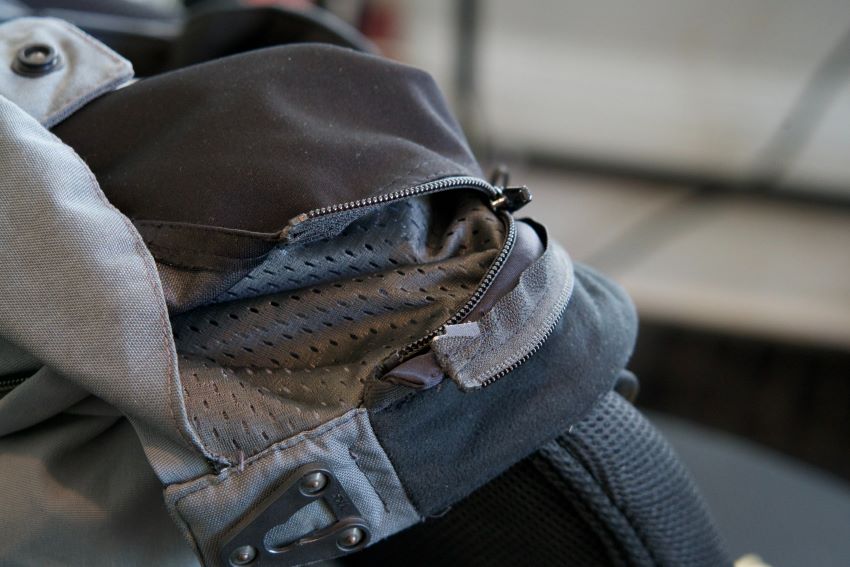
The convenience of zip-in waterproofing for your riding pants is typically worth paying for: no one wants to pull over and take their boots off on the side of the road.
For everyone else, the only outer layer required for budget adventure riding gear is that rain suit we mentioned above. It may not be the flashiest thing on the market, but because these suits block 100% of wind and rain, they cover all your bases.
We’ll also note that rain gear isn’t only useful when it's raining. Throwing on your rain jacket and/or pants helps retain the body heat trapped under your normal riding clothes. That means you can throw it on when it’s extra cold outside (even on a clear sunny day) and then easily peel it off as temperatures rise without having to strip down.
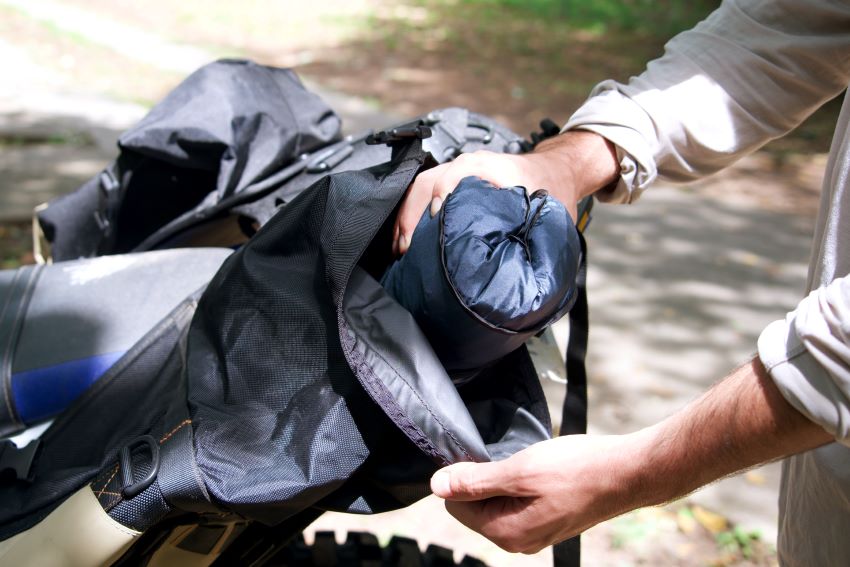
Standalone raingear has the advantage of being extremely packable, but the relatively thin material is easier to tear should you happen to crash.
The main drawback we’ll note for external/standalone rain gear is that if you’re on a group ride, the entire group will have to stop so you can “gear up” which almost always means pulling you boots off on the side of the road. We’ve also noticed that external raingear has the seemingly magical quality of making the rain stop completely within five minutes of putting it on, so that “convenience” factor is debatable when scattered showers are in the forecast.
Closing Thoughts on Buying Budget Adventure Riding Gear…
There’s an important distinction to be made here between cheap gear and cheaply made gear. Good cheap gear is pretty easy to come by, either on the secondhand market or in the form of entry-level gear from trusted brands.
Cheaply-made gear, on the other hand, is all too abundant and has no place out on the road (or anywhere else for that matter). Risking your health to save a few bucks isn’t a risk worth taking, so if it comes between you and the road, make sure it’s trustworthy.
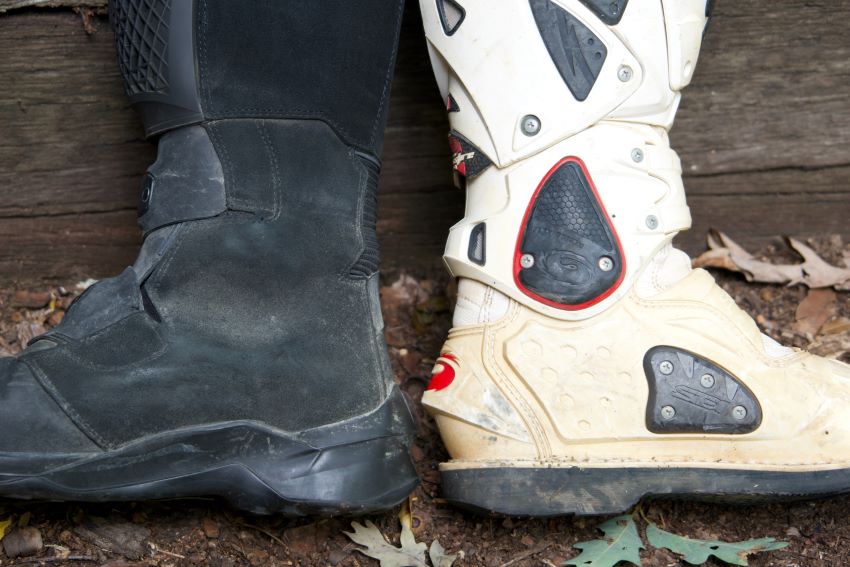
If you’re gonna splurge somewhere, reliable off-road protection like hard TPU and a hinged ankle is always worth paying for.
All things considered, if you’re looking for budget adventure riding gear and want to know where to focus your funds, we believe your helmet and boots are the two most important pieces of gear you’ll ever buy. Protecting your skull is a no-brainer, and because the overwhelming majority of motorcycle injuries occur from the knee down, the same could be said for boots, so prioritize your spending accordingly.
If you’ve got some cash left over for a few premium pieces, make sure you give us a call. Thanks to our partnership with Klim we’re able to offer a 20% discount on any of their stuff from helmets and boots to jackets and pants (and they are absolutely worth the money in our experience), so let us know if we can help check anything off that adventure riding gear wishlist this year.
